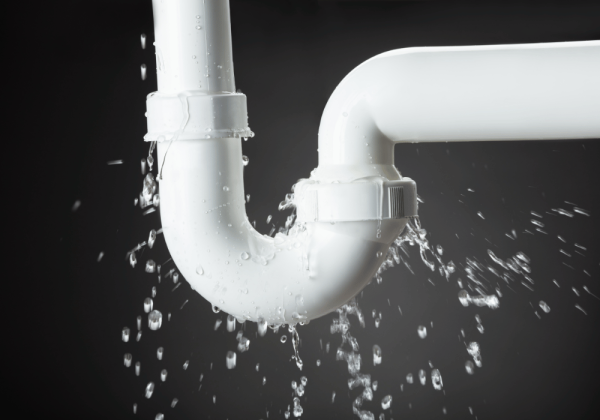
Discovering a leaky pipe in your home can be a frustrating experience. Not only does it cause water wastage, but it can also lead to significant damage if not addressed promptly. Fortunately, fixing a leaky pipe is a manageable task that you can often do yourself without the need for a professional plumber. In this guide, we’ll walk you through the steps to identify and fix a leaky pipe, helping you save water, protect your home, and maybe even a bit of money.
Step 1: Identify the Source of the Leak
 Before you can fix a leak, you need to find out exactly where it’s coming from. Sometimes the source of the leak is obvious, but other times it may require a bit more detective work. Look for signs of moisture, discoloration, or water damage on walls, ceilings, and floors. Once you’ve found the leaky pipe, dry the area around it so you can better assess the problem.
Step 2: Turn Off the Water Supply
Safety first! Before attempting any repairs, make sure to turn off the water supply to the affected area. This is usually done by closing the main water valve in your home. If you’re unsure where your main valve is or how to shut it off, now is a good time to find out. It’s essential information for any homeowner.
Step 3: Gather Your Tools and Materials
To fix a leaky pipe, you’ll need the following tools and materials:
- A pipe cutter or hacksaw (if you need to remove a damaged section)
- A wrench or a pair of pliers
- Epoxy putty or a pipe repair clamp (depending on the type of repair)
- Sandpaper or a metal file
- Replacement piping and fittings (if necessary)
- Teflon tape
These items are readily available at most hardware stores.
Step 4: Assess the Damage and Choose Your Repair Method
The repair method will depend on the type and extent of the damage. For small leaks or pinhole leaks, applying epoxy putty directly to the area or using a pipe repair clamp may suffice. For more significant damage, you may need to cut out the damaged section of the pipe and replace it.
For Minor Leaks:
- Using Epoxy Putty: Knead the putty according to the manufacturer’s instructions and apply it over the leak. Allow it to cure as directed before turning the water back on.
- Using a Pipe Repair Clamp: Place the clamp over the leak and tighten it according to the manufacturer’s instructions. This method is quick and effective for small leaks.
For Major Repairs:
- Replacing a Section of Pipe: Use a pipe cutter or hacksaw to remove the damaged section. Ensure the cuts are straight and clean up any burrs with sandpaper or a metal file. Use Teflon tape on the threads of any fittings, then assemble the replacement pipe and fittings. Tighten everything securely with your wrench or pliers.
Step 5: Test Your Repair
Once the repair is complete and the epoxy or new piping is in place, it’s time to test your work. Slowly turn the water supply back on and watch the repaired area for leaks. If you notice any water escaping, you may need to tighten your fittings or apply more epoxy.
Step 6: Monitor the Repaired Area
After the repair, keep an eye on the affected area for a few days to ensure the leak doesn’t return. If you notice moisture or signs of a new leak, you may need to reassess your repair method or consider consulting a professional plumber.
Fixing a leaky pipe can seem daunting, but with the right tools and a bit of know-how, it’s a task that many homeowners can tackle on their own. By following these steps, you can address leaks promptly, preventing further damage to your home and saving water. Remember, regular maintenance and inspection of your home’s plumbing can help catch issues early, making repairs easier and less costly in the long run.
